Stripboard – how to solder quick prototype for DIY project
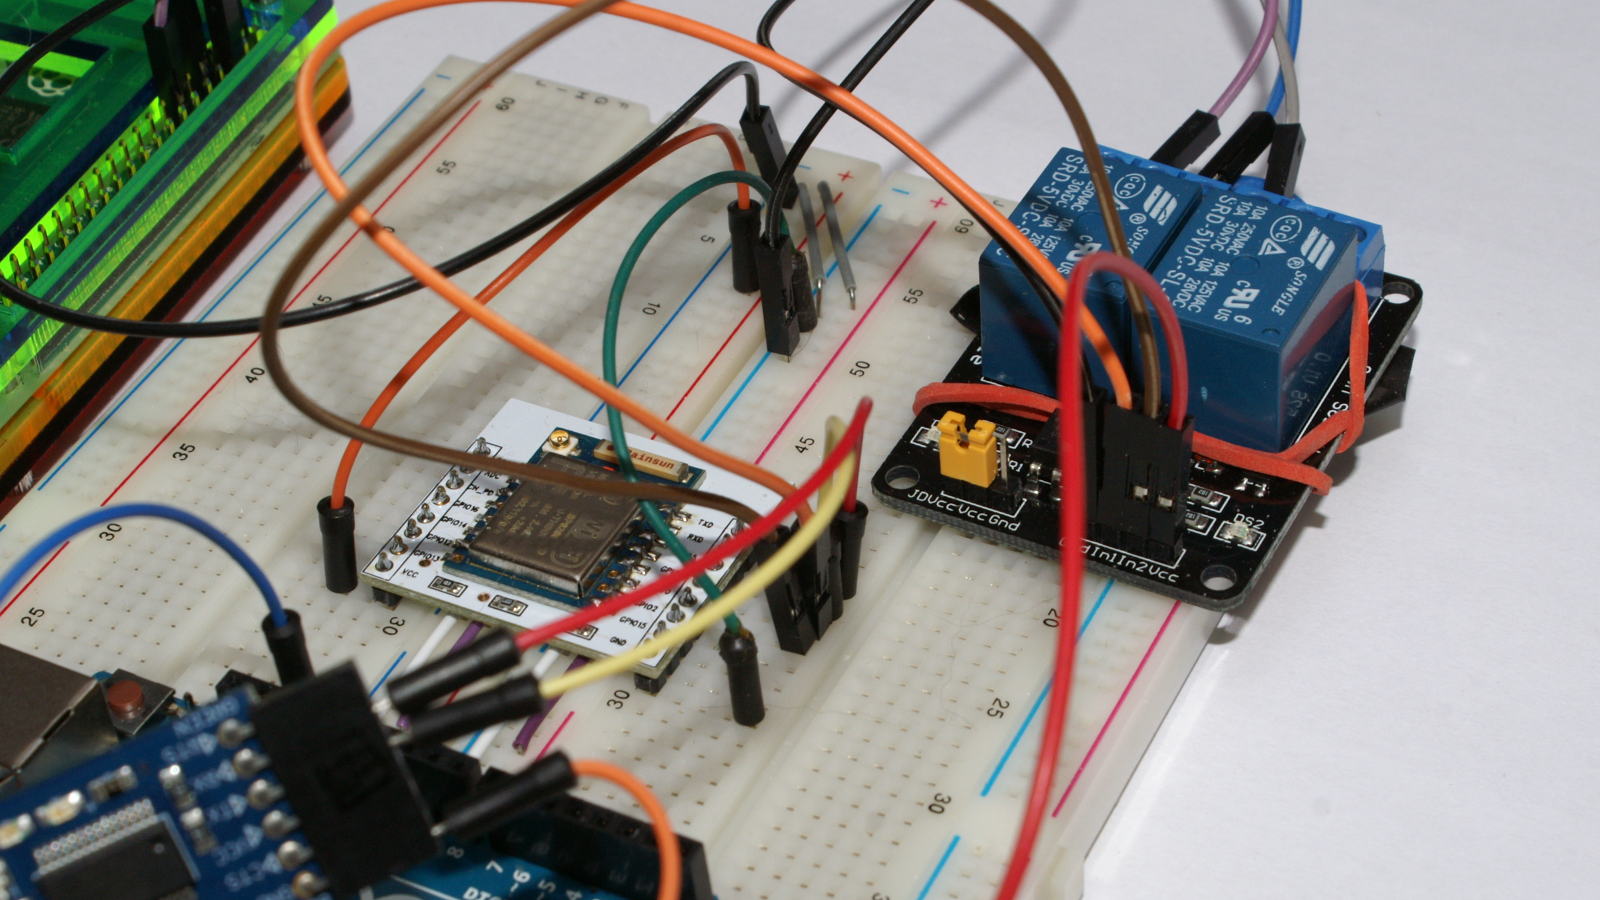
DIY project usually is prototyped using breadboard. Big mess of wires, and some chips between :) It is very convenient build it that way. Rewire connections? No problem, just switch some wires.
However, when project is done and You want to use this prototype in the filed, it turns out, what was advantage has suddenly become burden. Any moment You can pull some wire by accident and thats usually mean broken circuit. In most cases You won’t even remember where that wire was…
How to create fast but solid DIY prototype?
Converting project on breadboard into something more solid requires soldering elements. You can think – I need custom PCB. That is not so hard, but takes some time even for fairly straight designs. Transferring toner to PCB, then etching is time consuming, especially if You don’t do this on daily basis. Sending design to PCB fab house – it will take few weeks or You will pay for express shipping.
Other option is – to use perfboard. Cheap and easy to get. Board with holes in raster 0.1″ (2.54 mm) – You insert and solder elements. The only challenge is to connect all pins. You have to use some hookup wire and it can be time consuming.
So there is third option – stripboard. It is board similar to perfboard, but holes are connected into rows with copper. With knife You can easily cut these connections. If You are familiar with connecting circuits on breadboard, then operating on stripboard is similar.
See example project on stripboard:
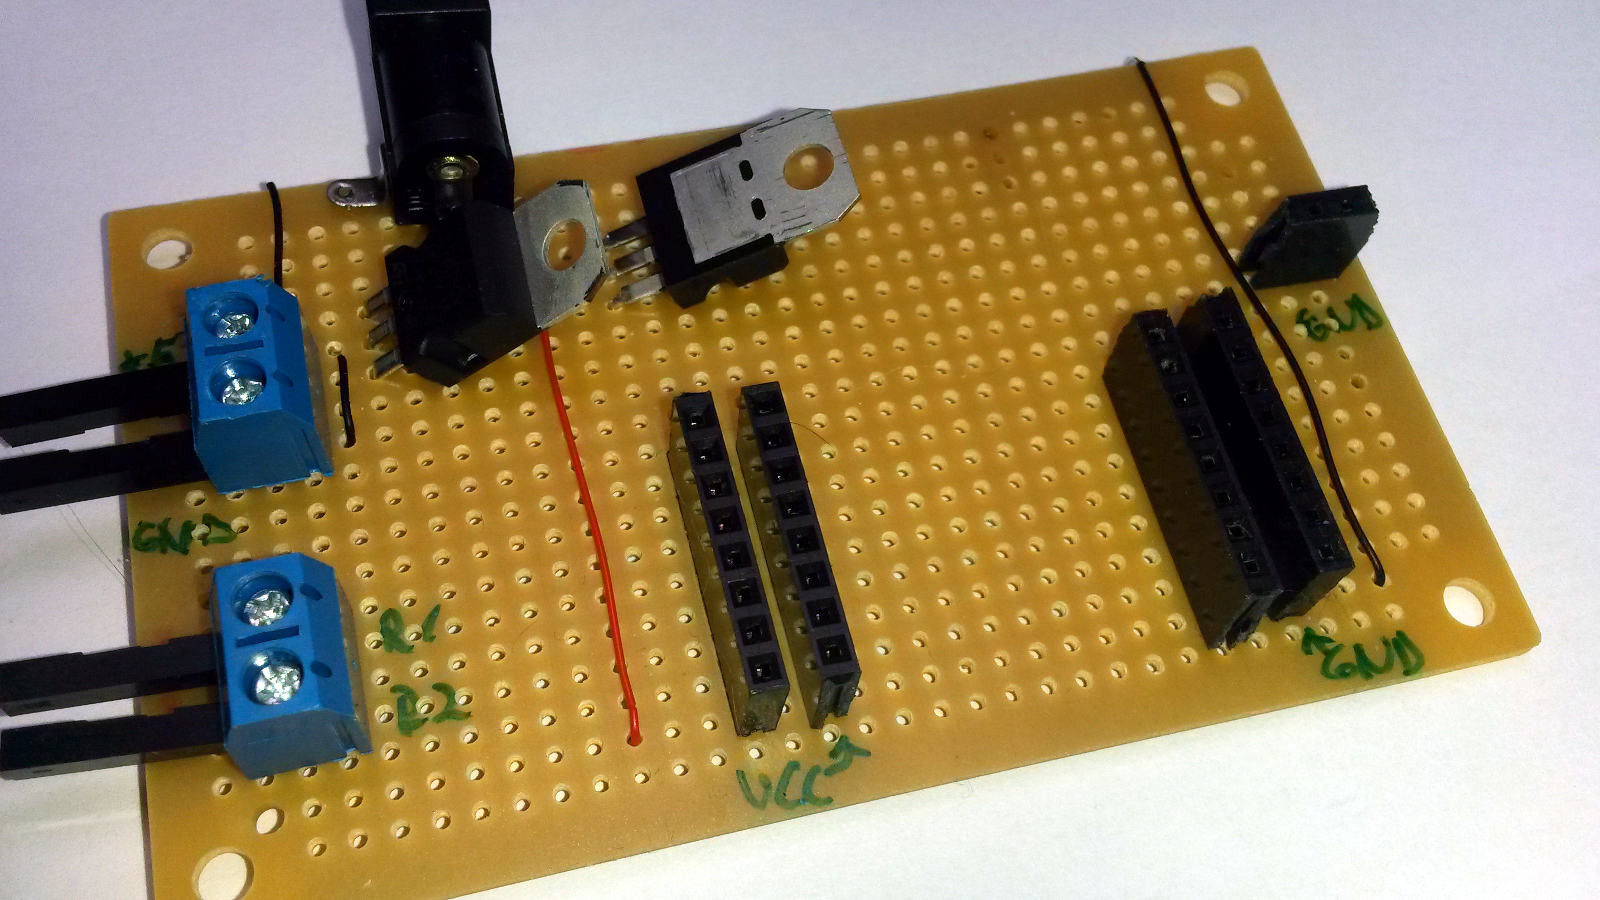
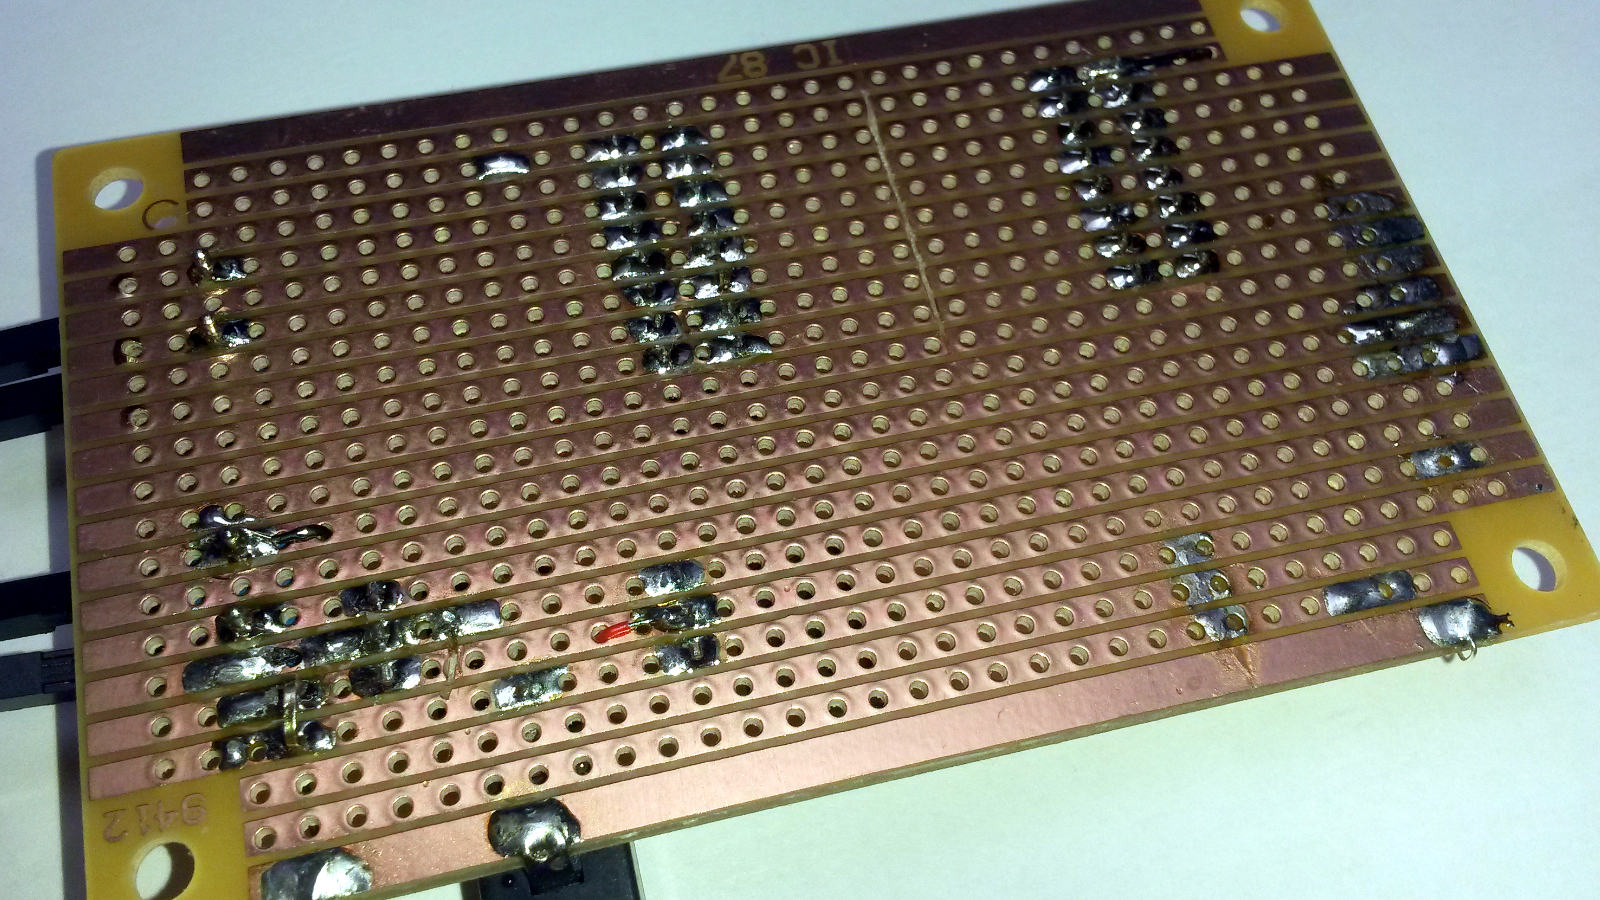
See how traces are cut under connectors for ESP8266. This way You can create in no time versatile dev board for any device.