NanoVNA-H firmware upgrade – using Windows 10
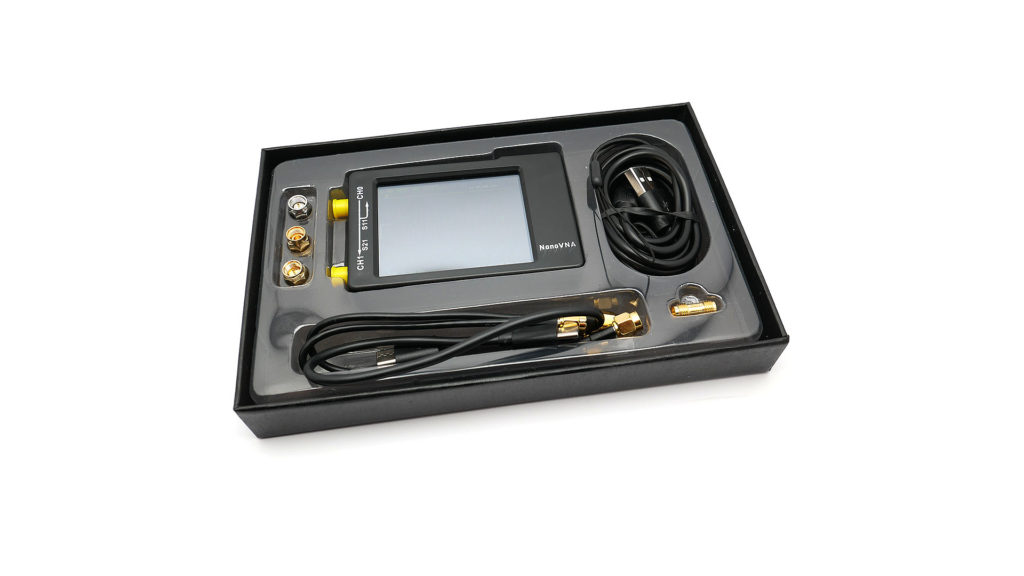
NanoVNA-H – usefull and reasonable priced vector network analyzer. NanoVNA can be used with desktop application (nano-saver) or phone with web application.
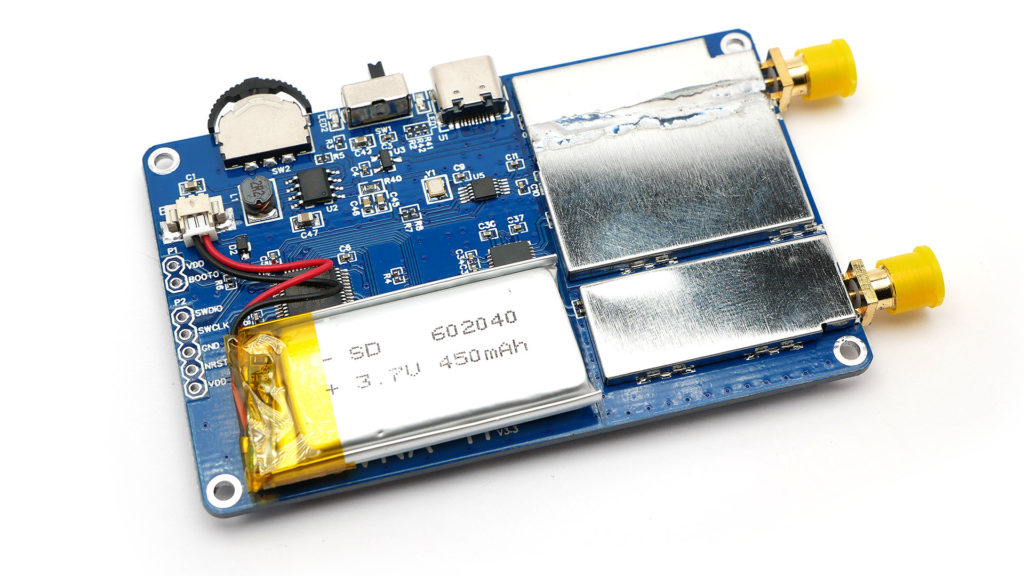
With affordable price device has it’s limitations, but it is manufactured well. Price does not have impact on quality in that area. All radio sections are shielded, nice soldering. Here is real photo what can You see inside of case:
NanoVNA is good example what OpenSource project is capable to deliver. With new firmware releases another limitations are removed. Upgrading firmware in device You own is nothing complicated.
Preparations
First – we need firmware. You can download it from github.com/ttrftech/NanoVNA/releases. When I write this article most recent version is 0.7.1. Download and unpack zip archive.
You also need DFU tool. You can get it from ST: www.st.com/en/development-tools/stsw-stm32080.html. Download and install it.
Firmware upgrade
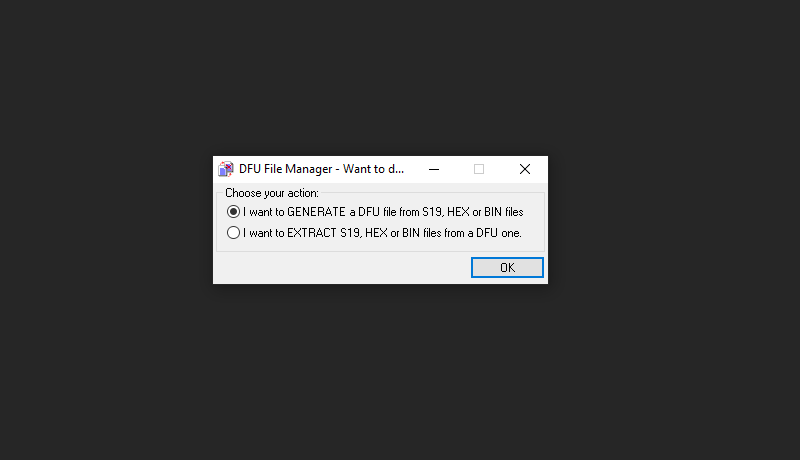
Start DFU File Manager to generate DFU file from HEX file. In order to do so click button S19 or Hex…, next choose HEX file from unpacked ZIP archive. Then click Generate…, and save result file in file system.
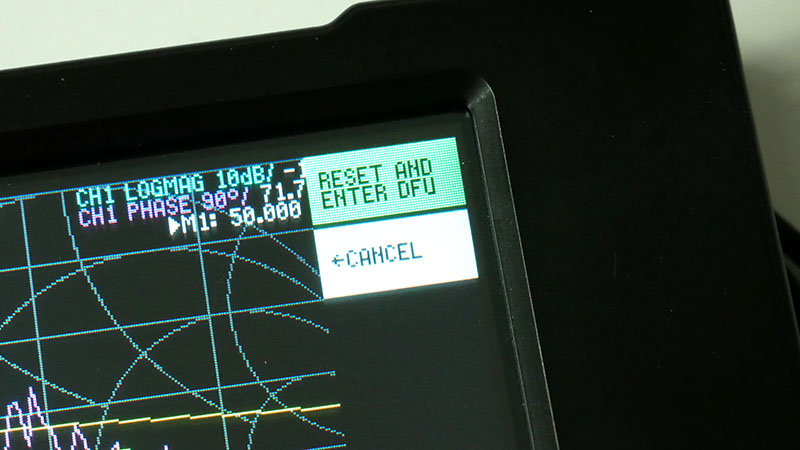
Using USB cable connect NanoVNA-H to computer USB port. From device menu select: CONFIG / ->DFU / RESET AND ENTER DFU. Device will run in DFU mode and Windows will detect new device STM Device in DFU Mode and will install driver.
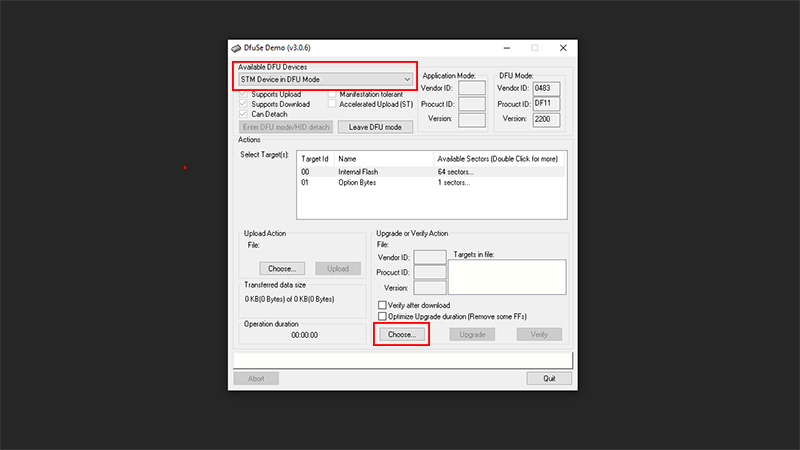
Start DfuSe Demo, make sure You have selected STM Device in DFU Mode. Click Choose… and select generated earlier DFU file.
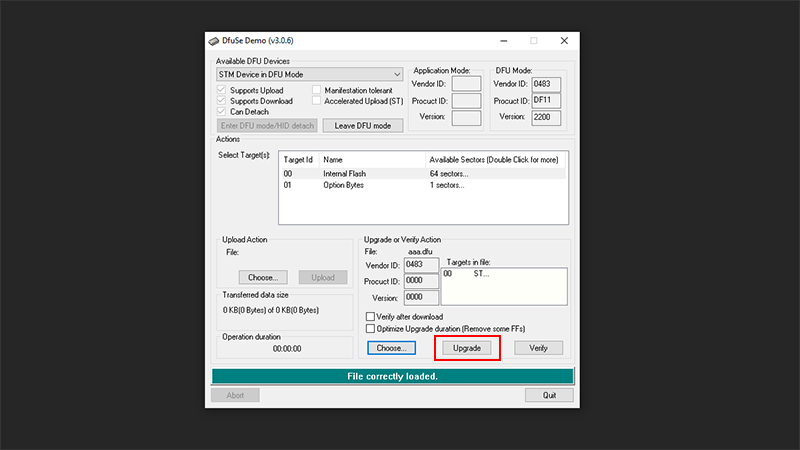
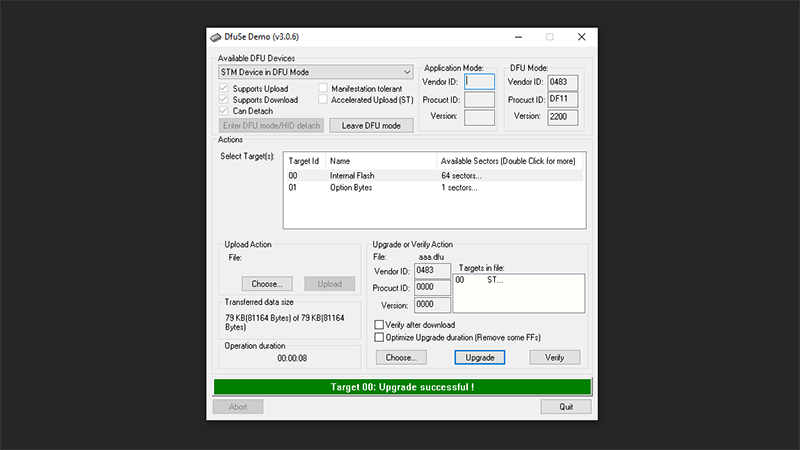
When message File correctly loaded will display, click Upgrade. Message Target 00: Upgrade successful ! means procedure was successful.
Restart NanoVNA-H. Remember – after each upgrade run calibration procedure. It is best to calibrate device for frequency range You will use later.
Downloads have no .hex files but .h or .ccp files. where can i get the right files?
Download zip file named nanovna-firmware-0.8.0.zip or similar. ZIPs with source code are, well, with source code only so cpp & h files.